Table of Content
Why installing
The Greenline enclosure
Preparing to install
The 5-minute installation guide
Real benefits
Final thoughts
Nobody signs up for golf thinking they’ll freeze halfway between holes. Yet that’s exactly what happens when the wind is cutting across the fairway or a sudden drizzle messes up your gear. You try to tough it out, but halfway through the round, your hands are cold, your seat is damp, and your golf bag looks like it went through a car wash. That’s usually when the thought hits: “Why don’t I just get an enclosure?”
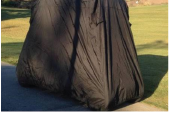
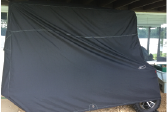
If that moment has arrived, good news. Installing a Yamaha Drive Golf Cart Enclosure is way easier than most golfers think. No tools, no drilling, no frustration. The right enclosure slides over the cart like a jacket. Five minutes later, you’re protected from rain, wind, and that annoying sideways mist that seems to attack only golfers.
The goal of this guide is simple: to walk you through the installation in a clear, easy rhythm, just like someone standing right next to you, showing you how it’s done.
Why installing an enclosure is worth it
Think about those days when the weather changes mid-round. Wind picks up. Clouds move in. Your seat gets damp. Your bag and clubs start feeling sticky and wet. It affects your grip, your swing, and honestly, your mood.
An enclosure solves multiple problems at once:
- You’re shielded from wind and sudden rain.
- Your bag and clubs stay dry and protected.
- Your seats stay clean and free from moisture.
- You stay warm, which helps you focus instead of rushing your shots.
- Beyond comfort, it helps protect the cart itself. UV exposure fades seats and dashboards over time, but an enclosure blocks direct sunlight. That alone saves money on repairs or replacements.
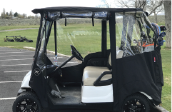
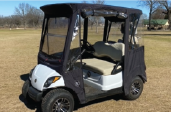
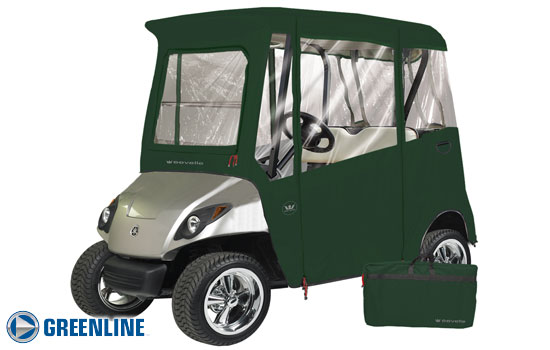
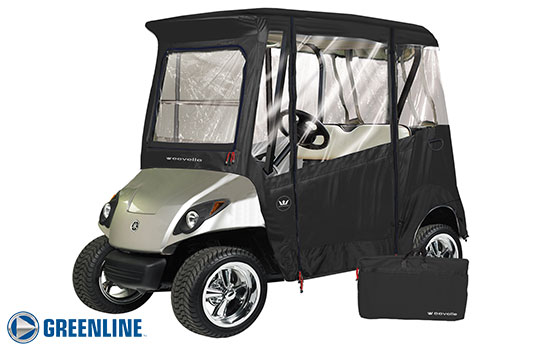
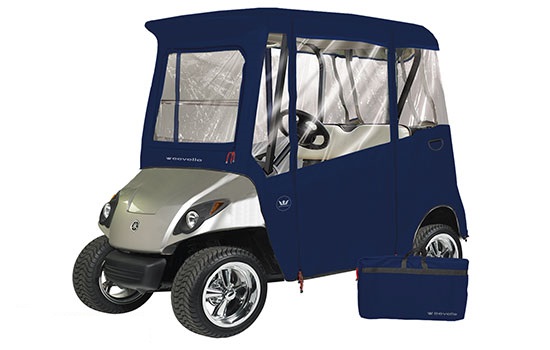
The Greenline enclosure for Yamaha Drive carts
Before jumping into installation, let’s look at why golfers prefer this model. The Greenline Yamaha Drive Golf Cart Enclosure is tailored specifically for this cart style, so the fit is neat, without loose edges or sagging fabric.
Here’s what stands out:
- Quick Fit design (no tools, no drilling, no hassle)
- Heavy-duty Durapel denier polyester fabric
- UV, water, and mildew resistant
- Super clear double-polished vinyl windows
- Roll-up doors on both sides and rear
- XT super duty zippers with glove pulls
- Lock-down J-hooks for secure driving
- EZ access for golf bag or storage area
Specs and included items:
- Fits roofs up to 71" L x 45" W
- Enclosure height: 63" H
- Weight: 17 lbs
- 3-year warranty
- FREE executive duffle bag
- 30-day fit guarantee
- NEW Quick Caddie Storage pocket
This isn’t a flimsy plastic cover. The Durapel fabric feels solid yet flexible, and the windows remain clear instead of foggy or distorted.
Preparing to install
Park your cart on a flat surface. Remove or fold anything on the roof that might interfere, like storage baskets, speakers, or attached umbrellas. If your cart already has a windshield, no worries. The enclosure has a removable windshield section, and many golfers prefer removing it for a cleaner setup.
Don’t unzip anything yet. Keeping the enclosure zipped makes it easier to slide over the roof.
The 5-minute installation guide
Time to install. And yes, this is genuinely a five-minute process.
Step 1: Unpack and identify the front panel
Open the executive duffel bag and pull out the enclosure. Find the front by locating the windshield section. You'll notice the fabric feels thick but not rigid; that’s the Durapel working in your favor.
Step 2: Slide the enclosure over the roof
Lift the enclosure and gently slide it over the cart roof like you're putting a hoodie over your head. Because it’s cut specifically for a Yamaha Drive roof size, it naturally falls into place without tugging or adjusting.
Right away, it begins to look like part of the cart.
Step 3: Pull the sides into place
Walk around the cart and pull each side panel down. Don’t stretch or yank, just guide it. The windows align automatically because of the structured design. At this moment, it starts looking clean and fitted instead of loose or baggy.
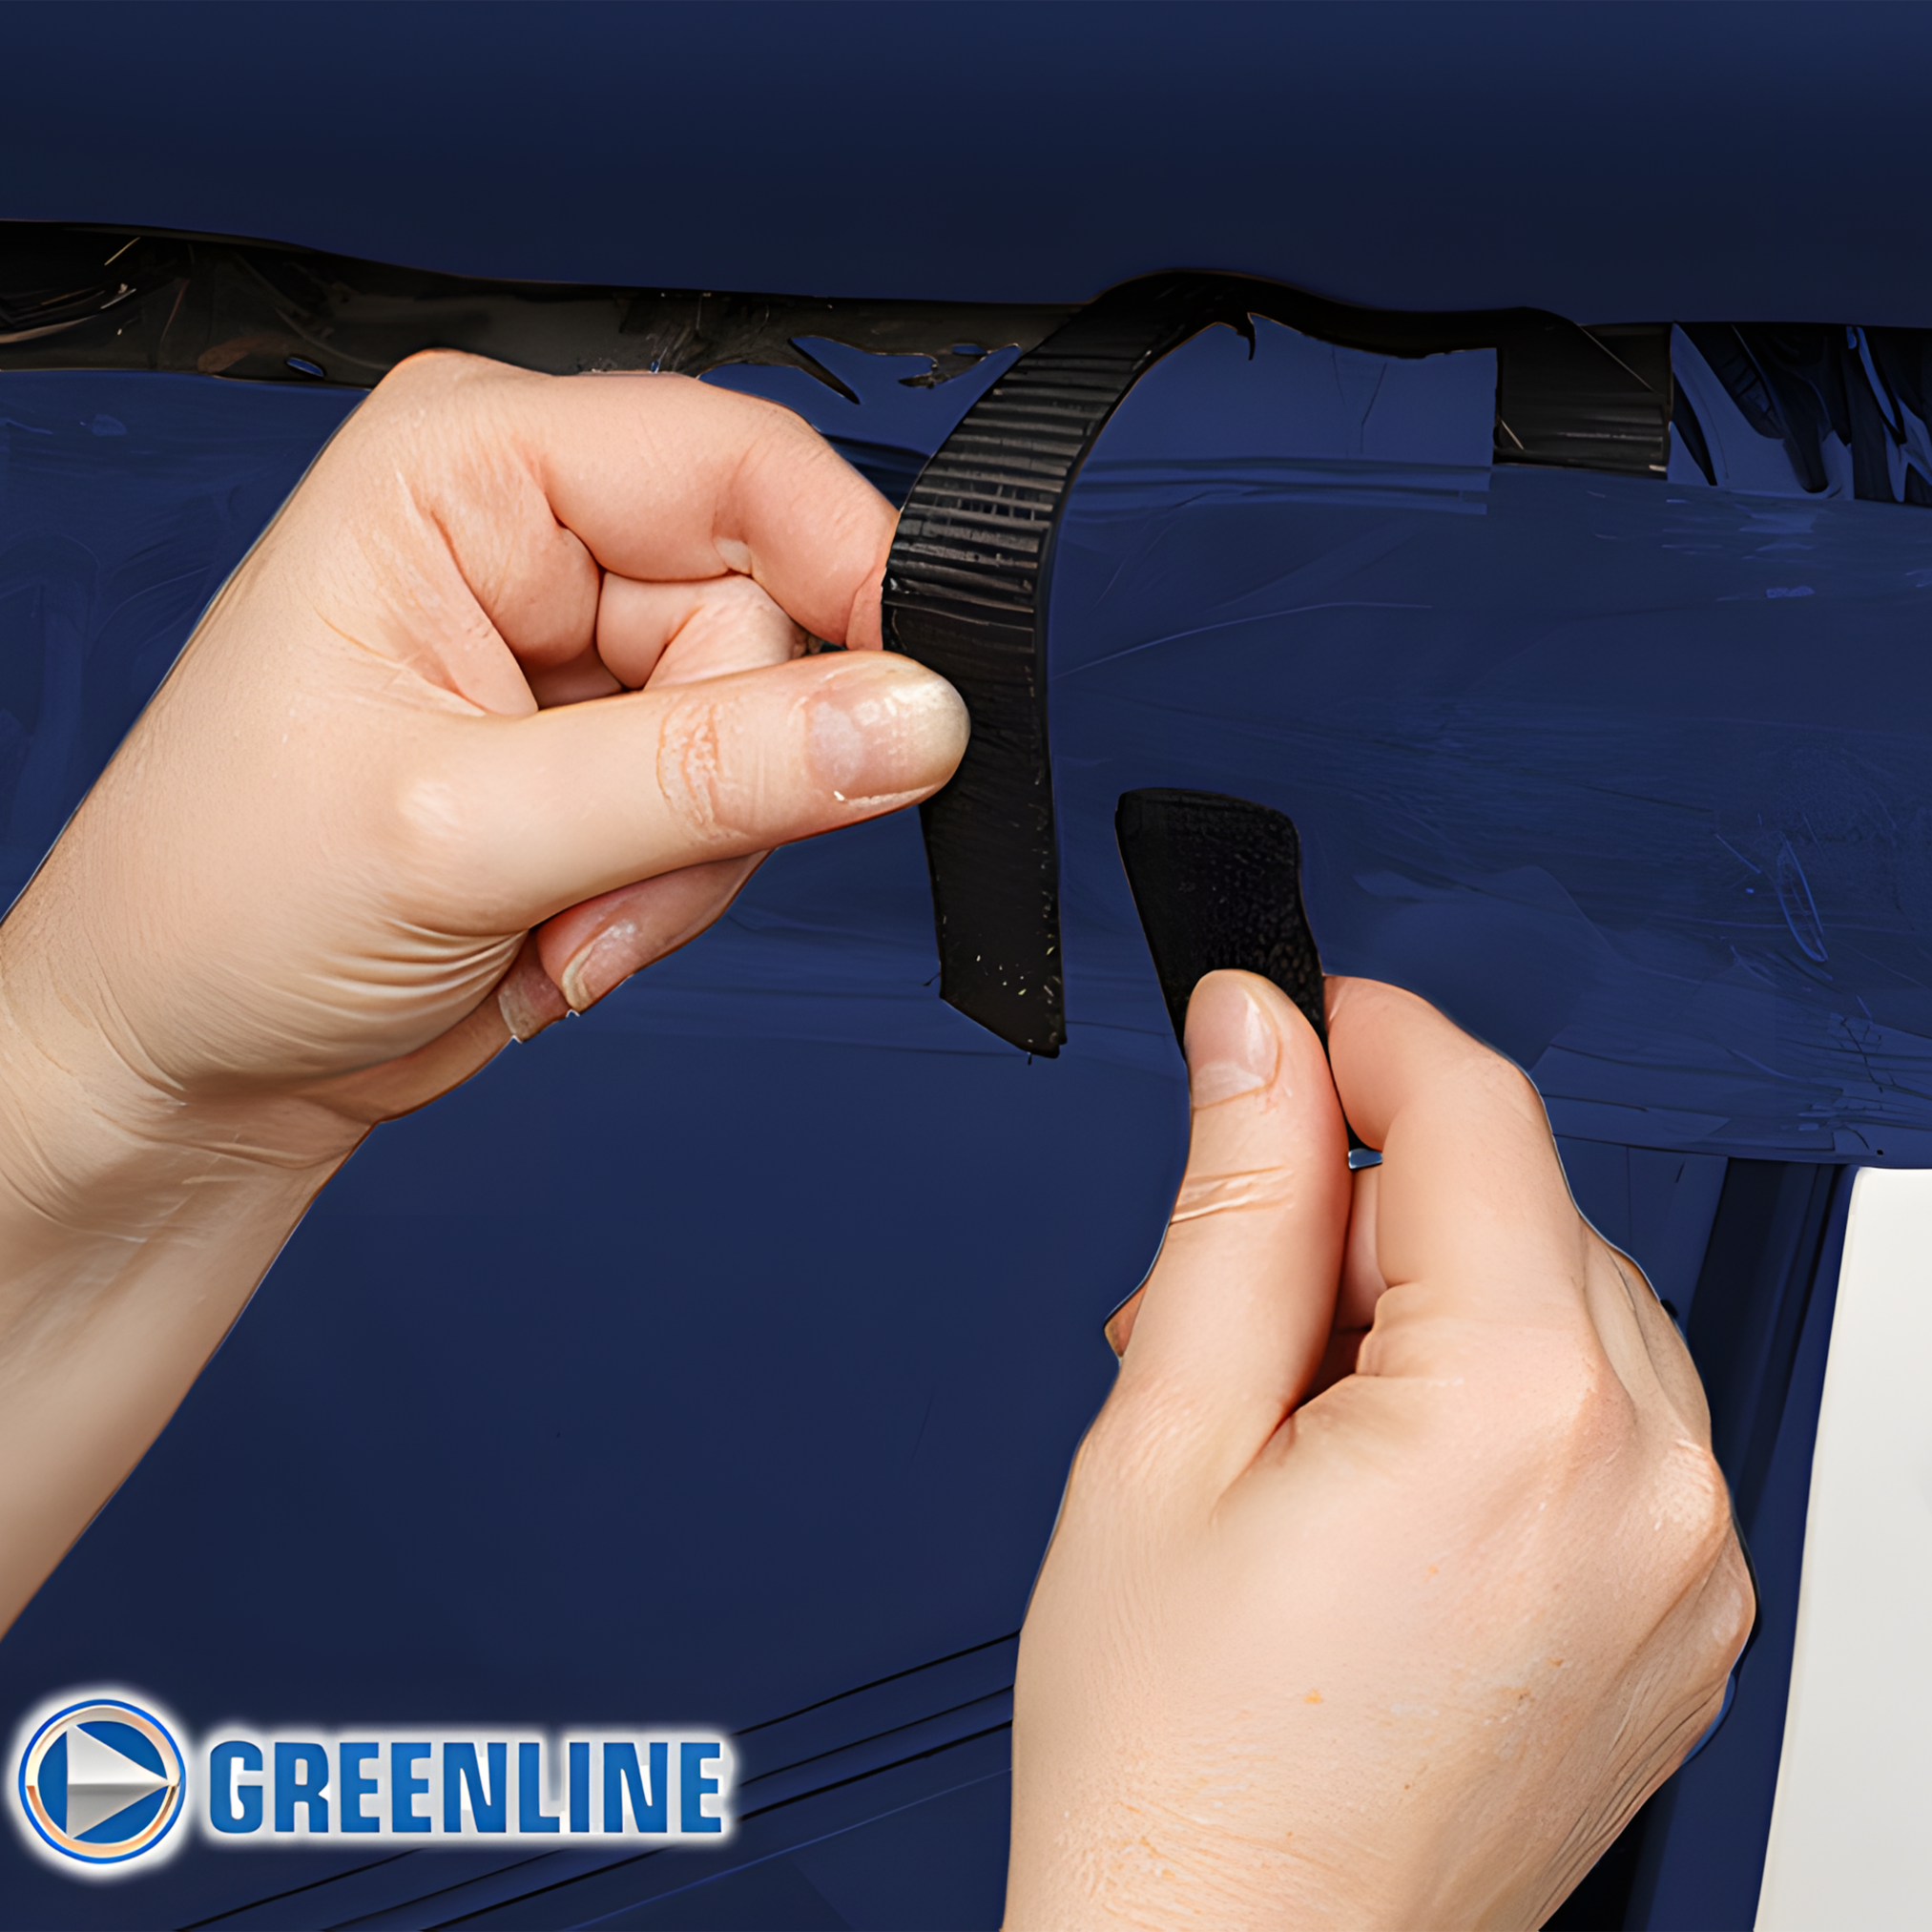
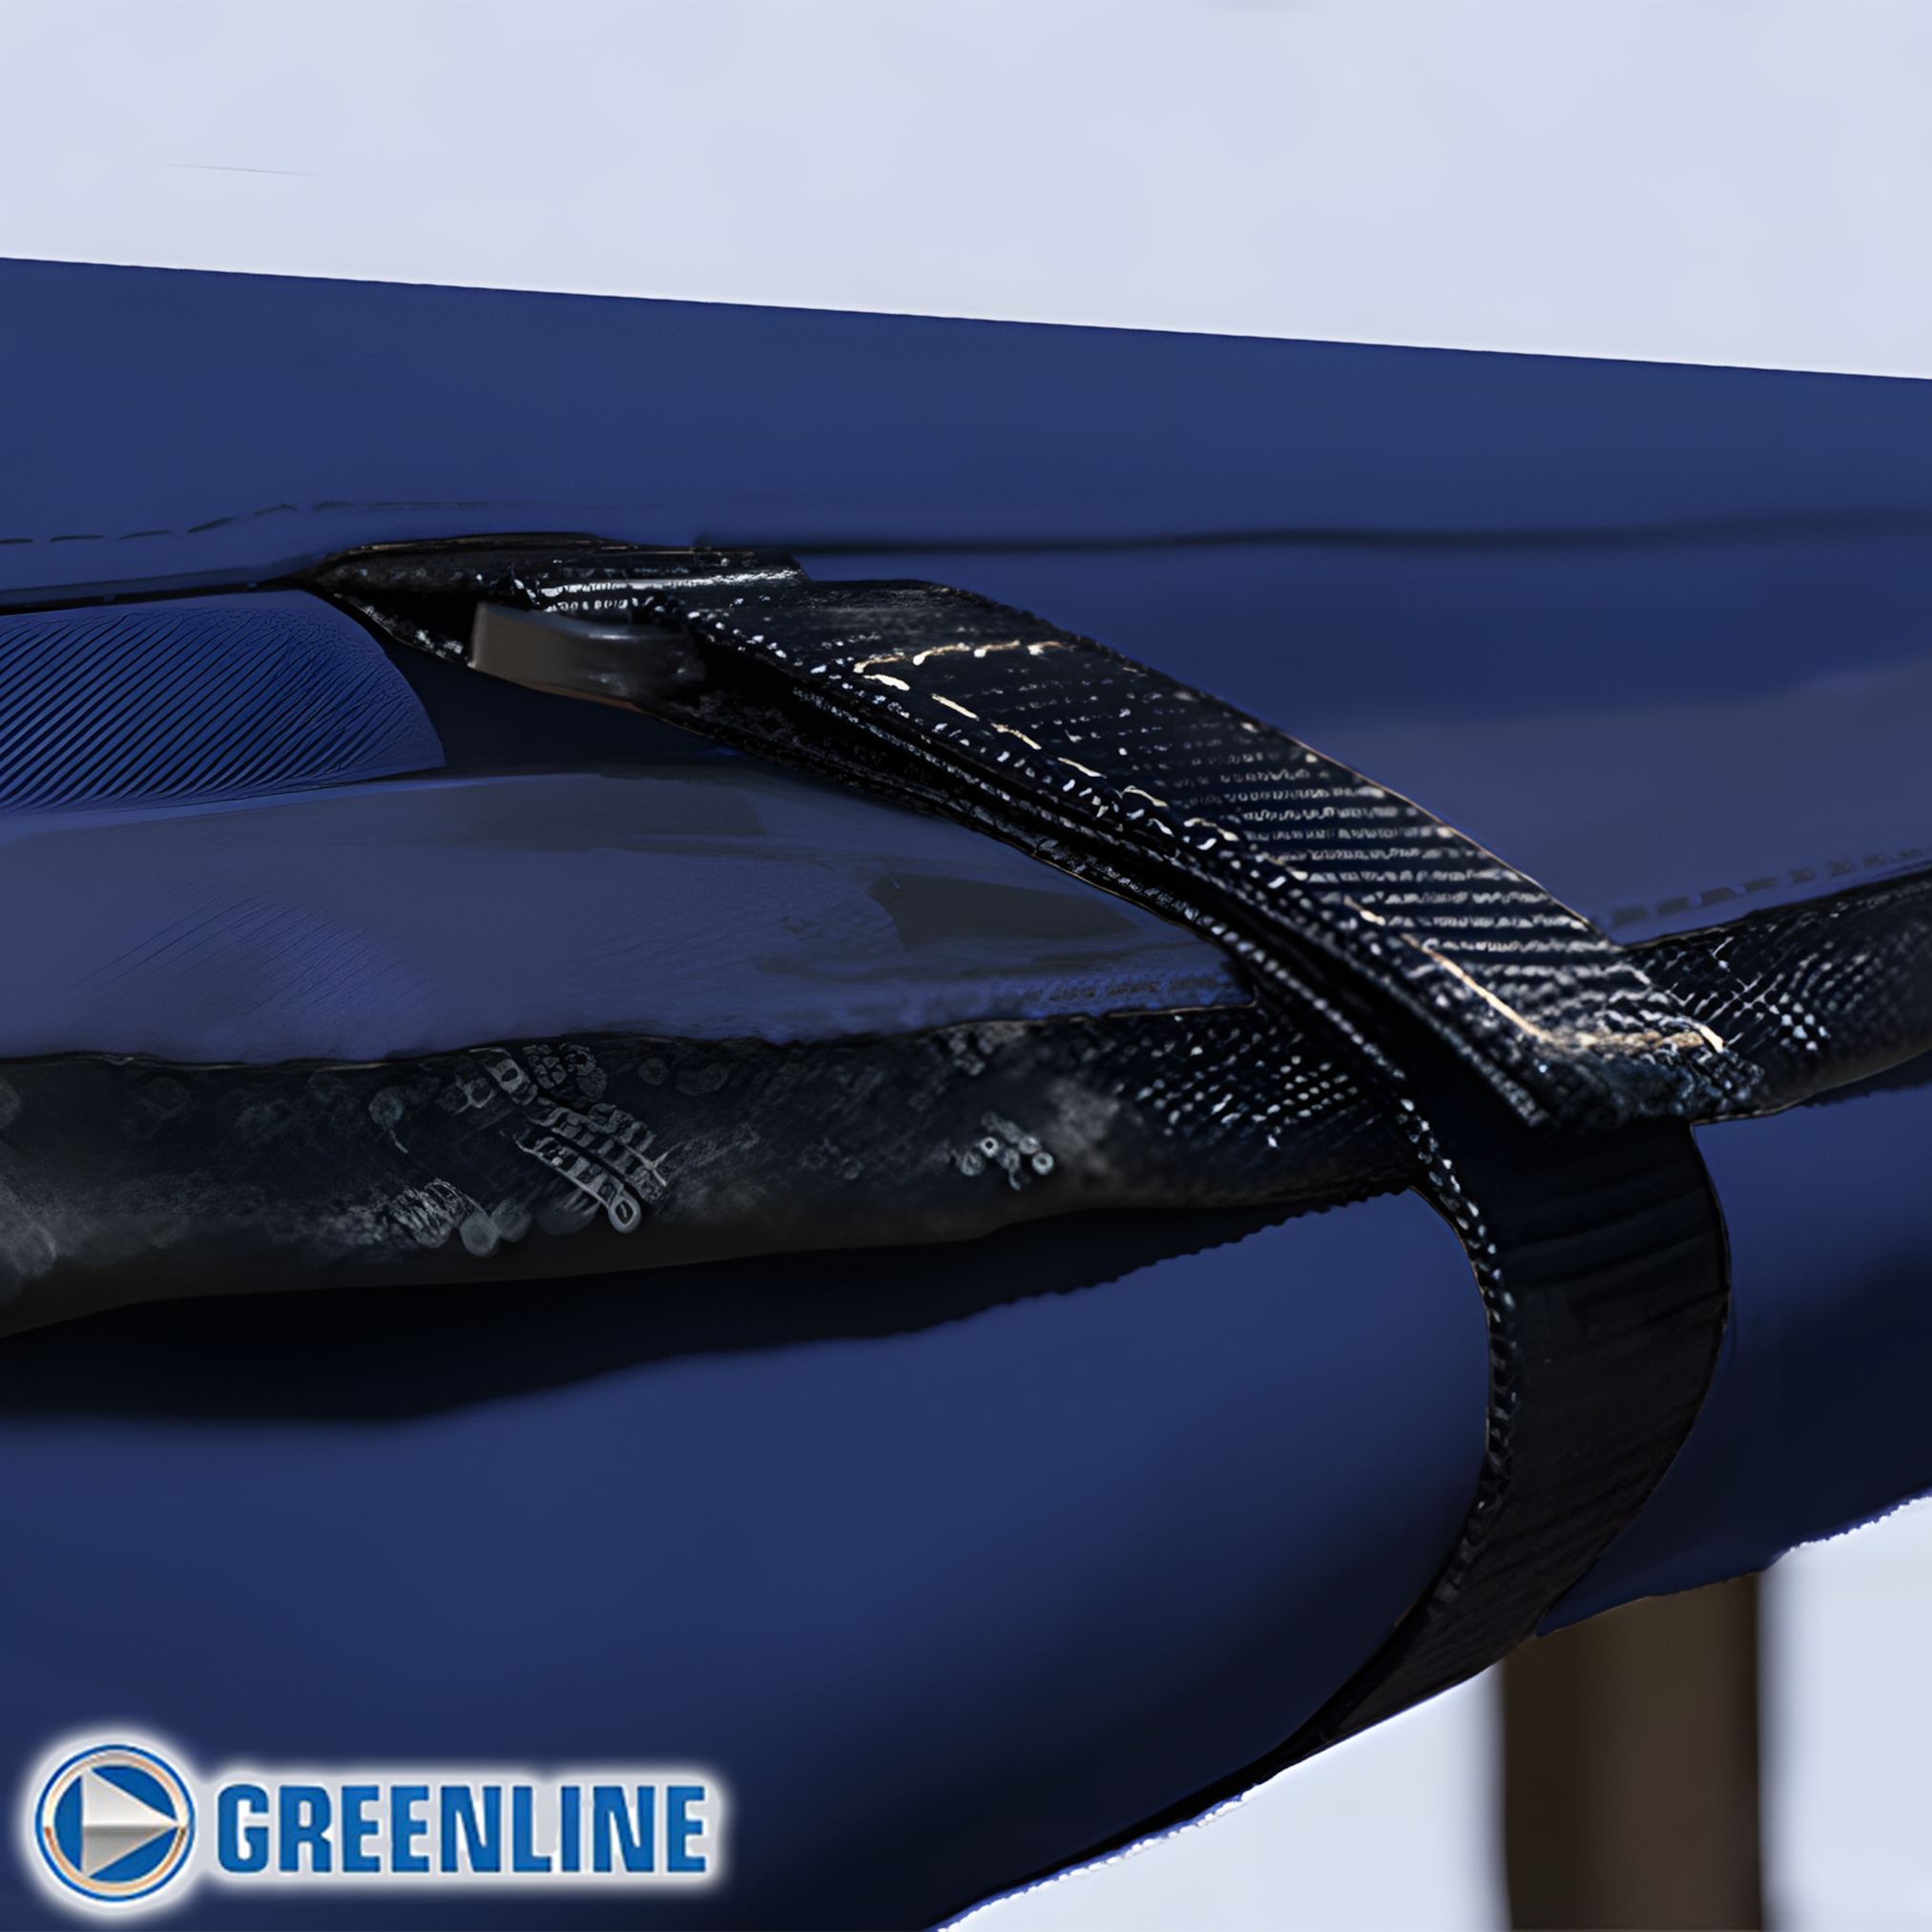
Step 4: Attach the J-hooks
Take a look under the cart by the frame. You’ll see elastic straps with J-shaped hooks. Clip these onto the underside of the frame. The hooks keep everything tight and secure, so nothing flaps when driving.
Once clipped, the enclosure feels snug, like a custom wrap.
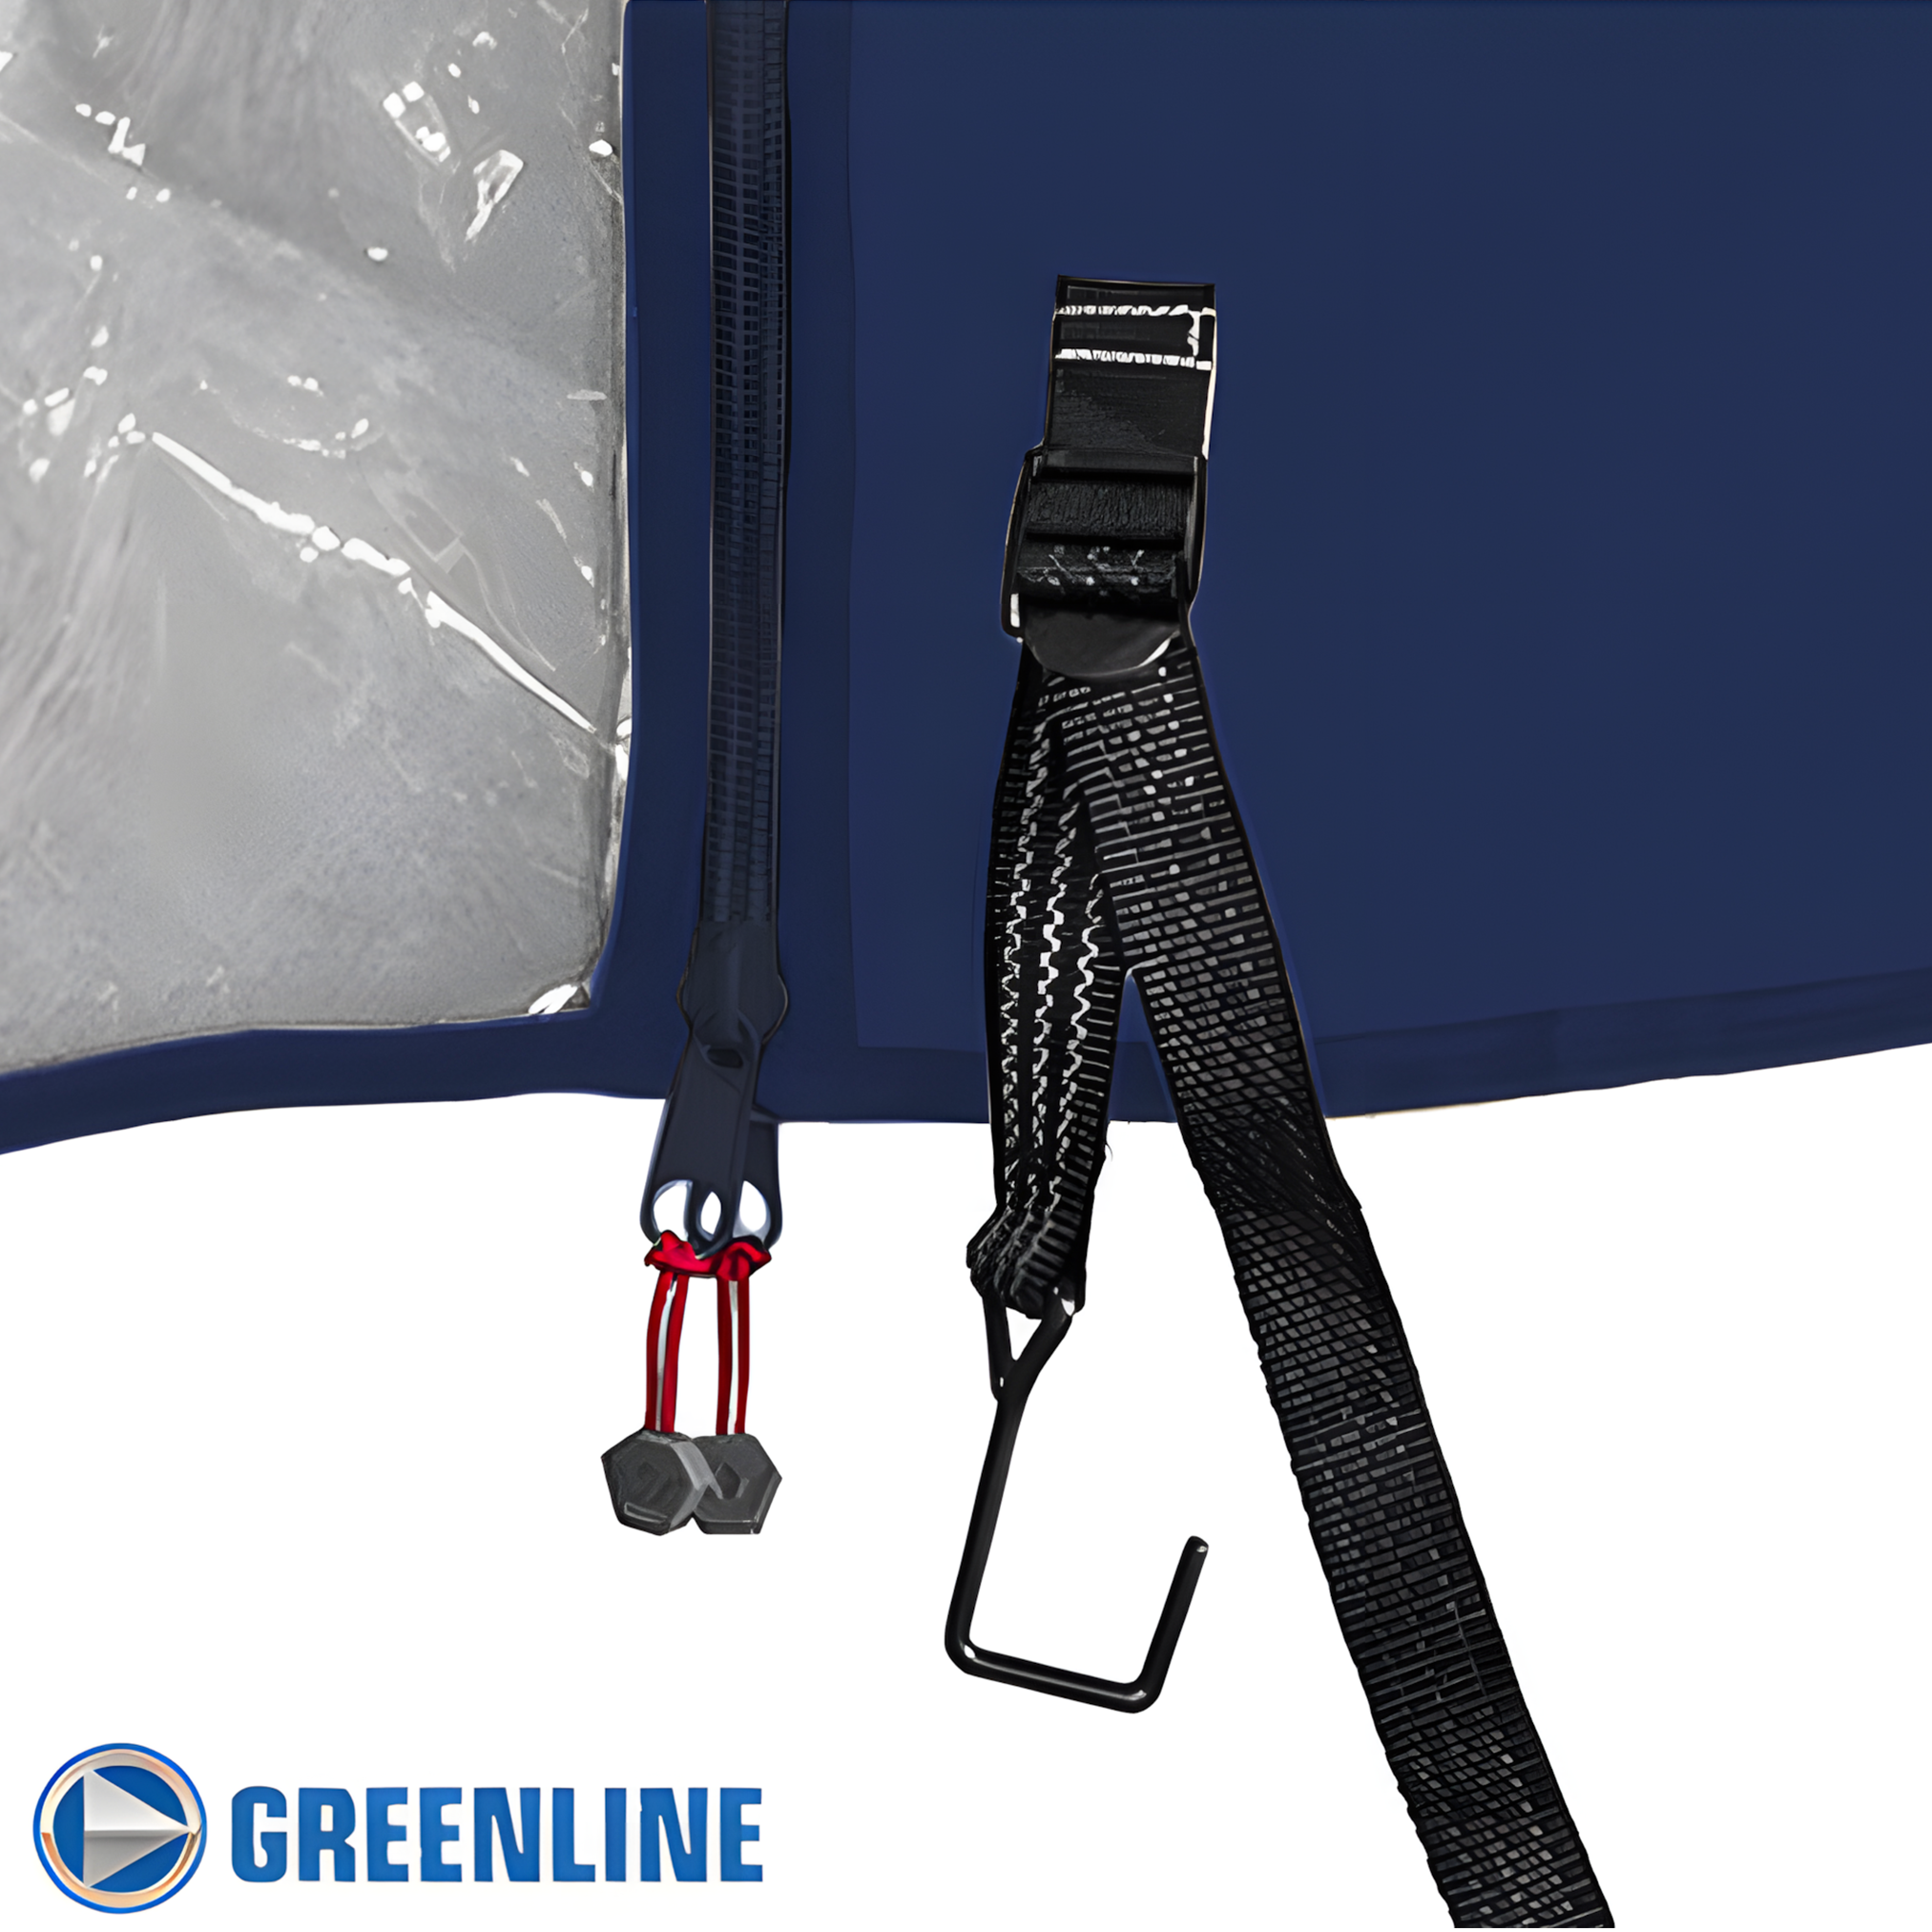
Step 5: Zip, adjust, and roll
Use the XT glove-pull zippers to open the doors. On warm days, roll the doors up and secure them using built-in straps. When the rain starts, drop them down and zip them closed.
If you need to reach your golf bag, the rear panel rolls up independently.
And that’s it. Installation is done.
No drills.
No complicated directions.
No stress.
Real benefits when driving
An enclosure is more than protection. It enhances the entire golf experience. When the temperature drops or a light rain rolls in, you stay warm and dry. That means you’re still focused on distance, not discomfort.
Plus, the windows are crystal clear. No hazy distortion. No cheap-looking plastic.
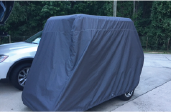
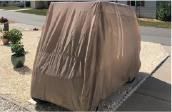
Because the enclosure is UV and mildew-resistant, it stays looking good season after season. And when you don’t need it, simply roll it up and store it back in the executive duffle bag.
Final thoughts
Comfort affects confidence in the course. When you’re warm, dry, and focused, your swing improves and your game feels smoother. Installing a Yamaha Drive Golf Cart Enclosure takes less than five minutes and instantly elevates your golfing experience.

If you want the version that includes the 3-year warranty, Quick Caddie Storage pocket, free executive duffle bag, and the 30-day fit guarantee, it’s available through National Golf Cart Covers. Their enclosures are designed to fit right, last longer, and make your cart feel ready for any weather.